
Kitchen folklore is rife with contradictory cast iron advice. Some swear by flaxseed oil, others by bacon grease. Some scrub with salt, others warn never to use water. Behind these passionate debates lies a simple truth: a properly seasoned cast iron skillet transforms ordinary cooking into extraordinary culinary experiences.
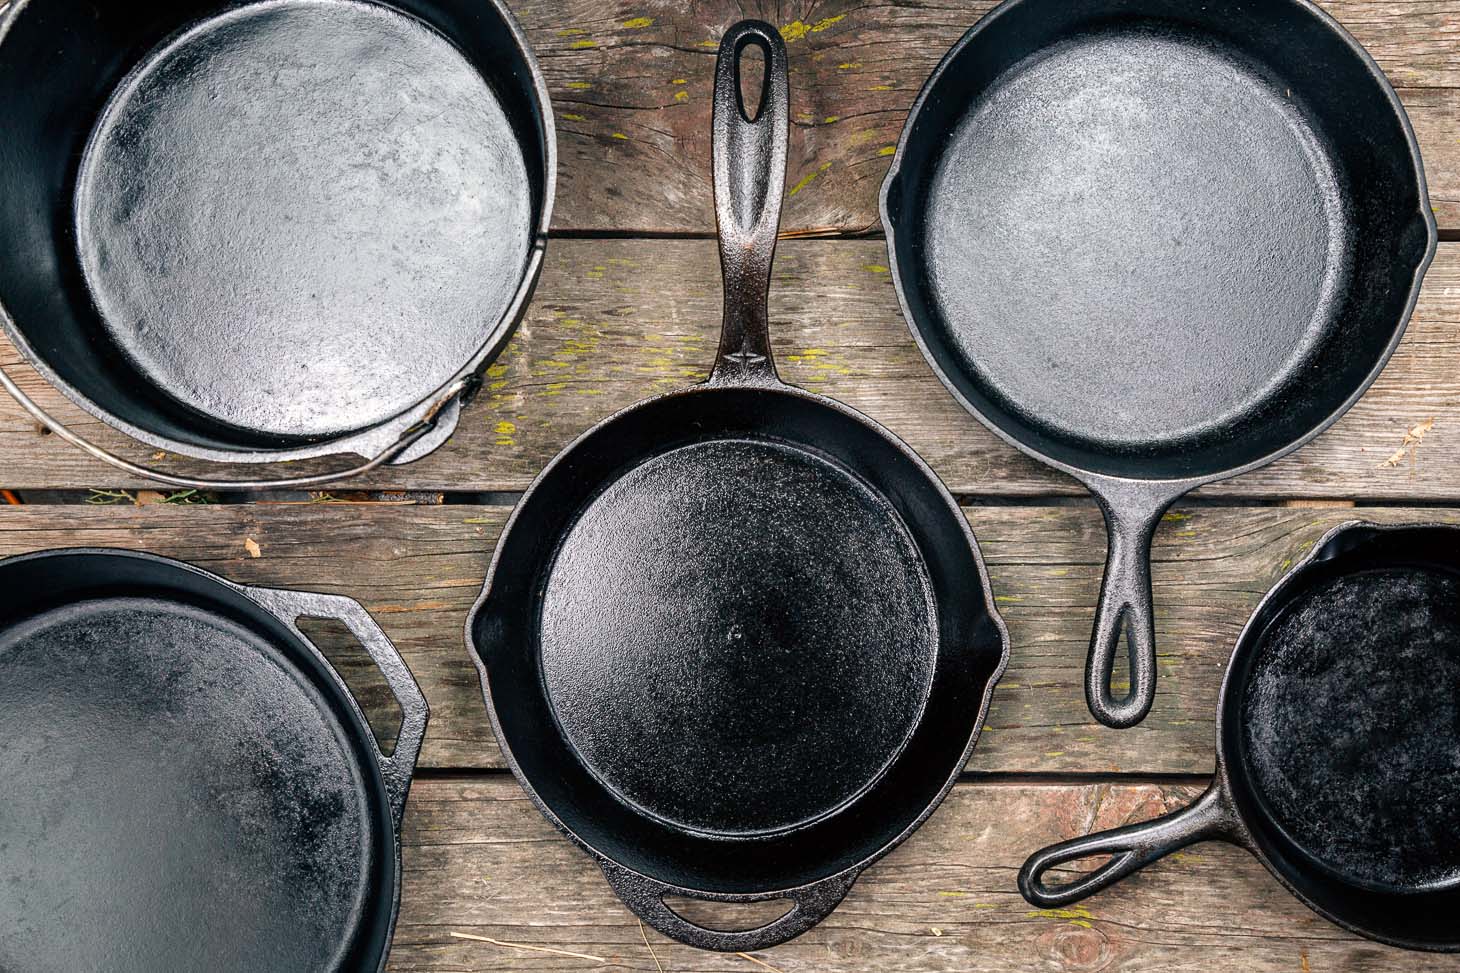
The slick, non-stick surface that develops over time isn’t magic—it’s molecular transformation happening before your eyes. That darkening patina represents science, patience, and proper technique working in harmony. Whether you’ve just unwrapped a factory-fresh Lodge skillet or rescued a rusty Wagner from a flea market, proper seasoning unleashes the true potential of this kitchen workhorse.
This guide cuts through myths and contradictions to deliver evidence-based methods for creating that coveted cooking surface. We’ve tested temperature ranges, oil varieties, and maintenance techniques to identify what truly works—and what’s merely superstition. The difference between sticky disappointment and gleaming success often comes down to understanding a few critical principles.
Why Seasoning Cast Iron Matters
The terminology can be misleading. “Seasoning” has nothing to do with salt, pepper, or spices—it refers to the polymerized oil layer that bonds to the iron, creating a natural non-stick surface that improves with use.
The Science Behind Cast Iron Seasoning
When oils or fats are heated on cast iron at high temperatures, they undergo a molecular transformation called polymerization. This process converts liquid oils into a hard, plastic-like polymer that bonds to the porous surface of the iron. This polymer layer creates the non-stick properties that make cast iron so prized.
What’s actually happening: The unsaturated fatty acids in the oil react with oxygen at high heat, forming long chains of molecules that cross-link with each other—a process chemists call oxidative polymerization. These polymer chains fill the microscopic pores and valleys in the ferrous surface, creating a smooth cooking surface that prevents food proteins from bonding with the metal. The resulting carbonaceous layer becomes increasingly inert and stable with additional heat cycles, developing into a resilient cooking surface with exceptional thermal properties.
Benefits of a Well-Seasoned Skillet
A properly seasoned cast iron skillet offers advantages that modern non-stick pans simply can’t match:
- Naturally non-stick surface without questionable chemicals
- Unparalleled heat retention for perfect searing and consistent cooking
- Durability measured in decades (or even centuries) with proper care
- Enhanced flavor development through the “seasoning memory” of previous meals
- Versatility across cooking methods from stovetop to oven to campfire
- Adds dietary iron to your food—beneficial for those with iron deficiencies
The seasoning process isn’t just maintenance—it’s transformative, turning a simple piece of iron into a high-performance cooking tool.
Essential Materials for Seasoning Cast Iron
The seasoning process doesn’t require specialized equipment, but choosing the right materials significantly impacts your results.
Choosing the Right Oil For Seasoning Success
The molecular composition of your seasoning oil directly impacts the durability of your final cooking surface. Unsaturated fatty acids, particularly those with multiple double bonds, polymerize more readily into the cross-linked network that creates seasoning. However, the critical characteristic remains smoke point—the temperature at which oil breaks down and begins the polymerization process.
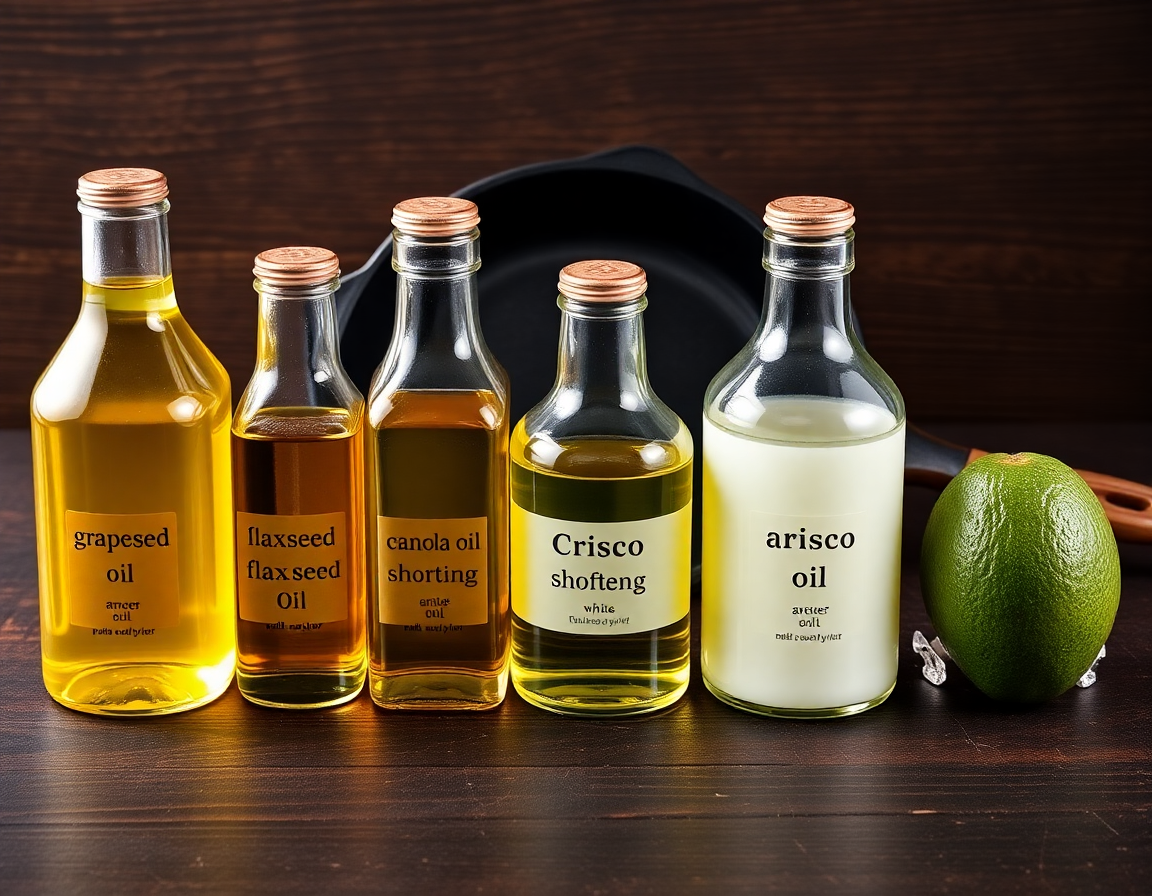
Recommended oils for seasoning:
| Oil Type | Smoke Point | Notes |
|---|---|---|
| Grapeseed oil | 420°F | Excellent all-purpose choice with neutral flavor |
| Flaxseed oil | 225°F | High linolenic acid content creates durable finish but prone to flaking if applied too thick |
| Canola oil | 400°F | Readily available and effective with balanced fatty acid profile |
| Crisco shortening | 490°F | Traditional choice with reliable results and optimal saturation levels |
| Avocado oil | 520°F | Premium option with extremely high smoke point and beneficial monounsaturated fat content |
Why smoke point matters: When oil reaches its smoke point, it breaks down and begins forming the polymer bonds that create seasoning. Oils with higher smoke points give you a larger temperature window for proper polymerization without burning.
Avoid these oils for initial seasoning:
- Extra virgin olive oil (too low smoke point)
- Butter (contains water and milk solids that can interfere with polymerization)
- Bacon grease (unless filtered to remove food particles)
Tools You’ll Need for the Process
Gather these basic supplies before beginning:
- Stiff brush or chain mail scrubber for cleaning
- Paper towels or lint-free cloths for oil application and removal
- Heat-resistant gloves to protect hands during the hot phases
- Aluminum foil to catch drips (if seasoning in the oven)
- Mild dish soap (contrary to popular belief, a small amount is fine for pre-seasoning cleaning)
- Baking soda (optional, for stubborn residue on used skillets)
Step-by-Step Seasoning Process
The seasoning process requires attention to detail, but it’s not complicated. Follow these steps methodically for optimal results.
Step 1: Preparing Your Cast Iron (Cleaning & Stripping)
For new skillets:
- Wash thoroughly with warm water and mild dish soap to remove the factory coating.
- Scrub with a stiff brush to eliminate any residue.
- Rinse completely and dry immediately with a clean towel.
- Heat the skillet on the stovetop for 5 minutes to ensure all moisture evaporates.
For used or rusty skillets:
- Create a paste of equal parts baking soda and water.
- Apply the paste and scrub with a stiff brush to remove rust and old seasoning.
- For stubborn rust, consider a 50/50 water and white vinegar soak (maximum 30 minutes).
- Rinse thoroughly and dry completely.
Critical tip: The iron must be 100% dry before applying oil to prevent trapped moisture that can lead to rusting underneath your seasoning layer.

Step 2: Applying Oil Properly (Thin Layers Win)
The cardinal rule of seasoning: extremely thin layers produce the most durable finish.
- Apply a small amount of your chosen oil (about 1 teaspoon) to the entire skillet—interior, exterior, bottom, and handle.
- Buff vigorously with paper towels or a lint-free cloth until the surface appears dry. This isn’t removing all the oil—it’s creating a microscopically thin layer.
- Buff again with a clean section of towel. When you think you’ve removed all excess oil, buff once more.
Why thin layers matter: Excess oil doesn’t polymerize properly and creates a sticky, splotchy surface that can flake off. The goal is to have oil in the pores of the metal, not sitting on top of it.

Step 3: Optimal Temperature and Duration
The heating process transforms the oil into a durable polymer coating.
Oven method (recommended for most consistent results):
- Preheat your oven to 450-500°F (232-260°C).
- Place the skillet upside down on the middle rack.
- Place foil on the bottom rack to catch any potential drips.
- Bake for one hour at temperature.
- Turn off the oven and allow the skillet to cool completely inside (approximately 2 hours).
Stovetop method (faster but less even):
- Heat the oiled skillet on high until it just begins to smoke.
- Reduce heat to medium-high and continue heating for 2-3 minutes.
- Turn off the heat and allow to cool completely.
- Repeat the process 2-3 times for a durable initial layer.

Step 4: Cooling and Repeating the Process
Patience during cooling is essential—thermal shock from rapid temperature changes can crack cast iron.
- Allow the skillet to cool completely between seasoning layers.
- Repeat the entire process (oil application and heating) 3-5 times for a new skillet.
- Test the finish by dropping water on the surface—it should bead up and roll around.
Remember: The best seasoning develops gradually through regular cooking, particularly with foods containing fat. Your initial seasoning provides the foundation, but using the skillet regularly builds the perfect surface.

Maintaining Your Seasoned Cast Iron
Proper maintenance preserves and enhances your seasoning over time.
Everyday Care Techniques
- Clean while still warm (not hot) for easiest food removal.
- Use hot water and a stiff brush or chain mail scrubber—no soap needed for routine cleaning.
- For stubborn residue, scrub with coarse salt and a paper towel.
- Dry thoroughly on the stovetop over low heat after each washing.
- Apply a very light coat of oil while warm (optional but beneficial).
The minimalist approach: Many experienced cast iron users simply wipe their skillet clean after cooking, reheat it briefly, and apply a thin oil coat—no water involved. This works well for non-acidic foods when no visible residue remains.
Troubleshooting Common Issues
| Problem | Cause | Solution |
|---|---|---|
| Food sticking | Insufficient seasoning or cooking at wrong temperature | Cook with more fat initially; preheat properly before adding food |
| Black residue on food or towels | Excess or incompletely polymerized oil | Strip and reseason; ensure thinner oil layers |
| Rust spots | Moisture left on surface or seasoning damage | Remove rust with steel wool, then reseason affected area |
| Dull, dry-looking patches | Seasoning worn away by acidic foods or scrubbing | Apply a thin oil layer and heat until smoking |
| Sticky surface | Too much oil during seasoning | Strip and reseason with thinner oil layers |
Myths and Misconceptions About Cast Iron Seasoning
The world of cast iron is filled with outdated advice and cooking superstitions passed down through generations. Let’s separate fact from fiction with evidence-based analysis.
Why Soap Isn’t Always the Enemy
The myth: Soap will destroy your seasoning instantly.
The reality: Modern dish soaps are mild detergents, not the harsh lye soaps of yesteryear. They remove grease but won’t affect properly polymerized seasoning. A small amount of dish soap is fine for cleaning—just don’t soak your skillet or scrub with abrasive cleaners.
Think of it this way: if your seasoning could be removed by gentle dish soap, it wouldn’t stand up to the acidic tomatoes or wine you might cook in it.
The Truth About Metal Utensils
The myth: Metal utensils will scratch and ruin cast iron.
The reality: Well-seasoned cast iron is remarkably resilient. While gentle tools may extend the life of your seasoning, regular use of metal spatulas can actually improve your cooking surface by smoothing out rough spots. The seasoning will heal small scratches naturally during cooking.
FAQs About Cast Iron Seasoning
Conclusion: Building a Lifetime Relationship With Your Cast Iron
Seasoning cast iron isn’t just maintenance—it’s the beginning of a cooking relationship that improves with time. Each meal contributes to the skillet’s character, creating a cooking surface that becomes uniquely yours. What begins as raw iron transforms into a living cooking instrument with properties no factory-made non-stick pan can match.
The effort you invest in properly seasoning your cast iron pays dividends across decades of cooking adventures. This isn’t just another pan—it’s a kitchen heirloom carrying flavor memories and culinary heritage through generations. The polymerized surface you’re creating represents both chemistry and craftsmanship.
Next Steps for Your Cast Iron Journey:
- Start cooking immediately with fatty foods like bacon, skin-on chicken, or buttery cornbread to enhance the seasoning naturally
- Document your skillet’s evolution by noting how the surface changes and improves over your first dozen meals
- Join our cast iron community where members share maintenance tips, restoration projects, and heritage recipes designed specifically for cast iron cooking
Ready to elevate your cooking? Download our exclusive collection of 25 cast iron recipes specifically engineered to maintain and enhance your seasoning while creating memorable meals. Each recipe includes notes on how it contributes to your skillet’s developing patina and flavor profile.
Your seasoning journey doesn’t end with this guide—it’s just beginning. The true magic happens when knowledge transforms into confidence and your cast iron becomes an extension of your cooking intuition.